2 sets of trays for growing micro greens. It comes with a green tray and a white mesh tray that goes on top of the green tray. The one we used is 32cm x 25cm and 4.5cm hight.
3D-printed template
Tools
Spray bottle
Scissors
step 1: design the template
The template is the root guides which will define the design. In this case, we used Rhino and Grasshopper to design one according to the dimensions of the micro greens tray.
step 2: measure the seeds
This depends on the size of your micro greens tray. In this case 100 gr of seeds is enough to cover 32cm x 25cm of the tray surface.
step 3: soak the seeds overnight
At least for 8 hours. This will help with softening the seed coat and speed up germination.
Prepare the micro green tray placing the 3D printed template on the green tray and place the white mesh tray on top.
step 4: prepare for growing
Rinse the seeds ad spread them evenly on the surface of the white mesh tray. Avoid large clumping. Keep them moist by spraying water at least twice a day.
Cover the tray with another green tray and add some weight to it. This will keep humidity around the seeds and avoid light exposure.
step 5: growing
After a couple of days you will start seeing the seeds germinating. Add water to the bottom tray because roots will start growing. Keep the seeds cover with the green tray till most of the seeds are open. You can now put the top tray upside down like a lid to not smash the sprouts.
spet 6: harvest
After about 5 days you can remove the lid and place the sprouts in a place with light to continue growing.
After about two weeks, the micro greens are about 10 to 12 cm tall and you can cut them an eat them.
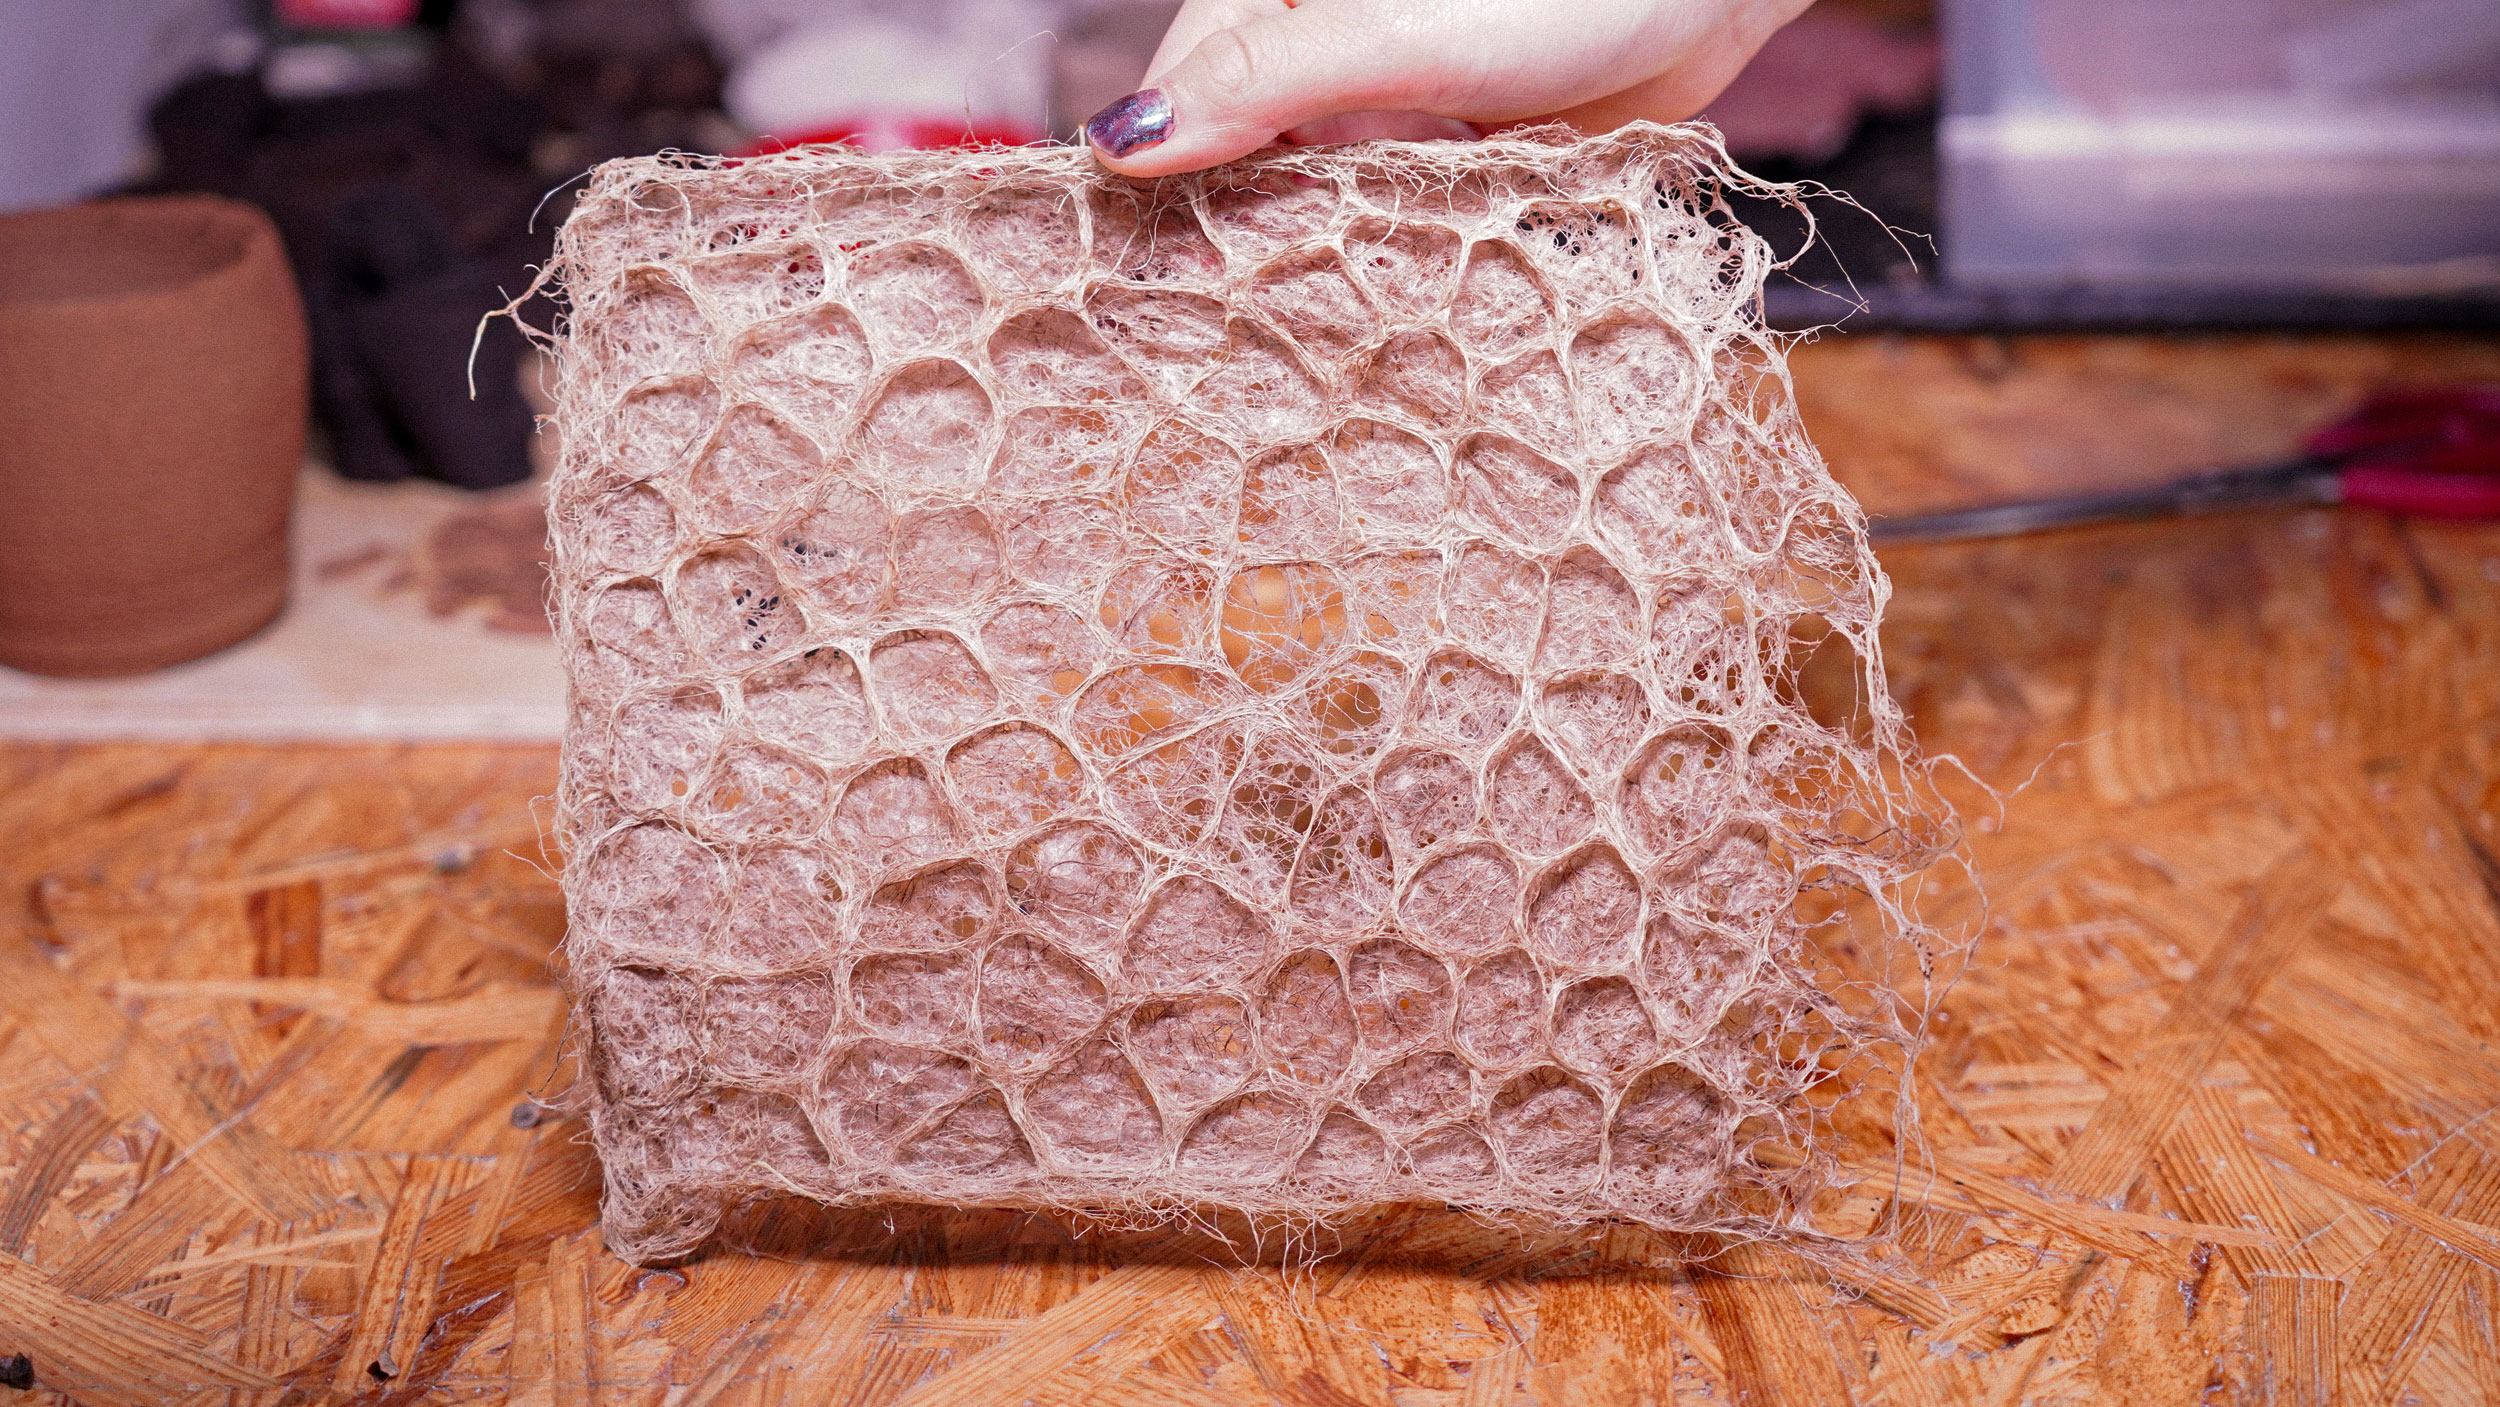
spet 7: collect the roots
After cutting all the sprouts remove the roots from the template and air dry it for a couple of days until the water evaporates.
buckwheat roots
We have seen this experiment using wheatgrass, but we wanted to see how other roots behave and if we can conduct the same experiments with other micro greens that we can eat after all.